It seems my servo is holding on the brakes.
Overheating so much I rolled into park foche Laon with only a hand brake.After a bit of cooling it was fine for the rest of the day.
Sticking on again at the farmhouse and unlocked when I turned off the engine.
I removed the vacuum hose and blocked it with a tyre valve.
Similar to previous post.. do I need a servo.
Well, with current braking power, yes I do. Quite a struggle to stop.
I have a girling 7/8" master cylinder. Do the none servo cars use a bigger bore?
I'll try the air valve fix first from the archive.
But also, is there a repair kit for the lockheed type 6, 4257 729 29?

Considering I always thought the brakes were a bit hard - so assumed the servo was dud anyway - now it is dud a proper emergency stop would probably break the seats by pushing so hard. So - in my case - need to fix it.
Of course there may be more wrong than just the servo.
My master cylinder is 7/8" - series I & II had 11/16". So I think to run without servo one ought to use a different master.
This weekend I'll clean and polish the air valve and give it a test run vacuum on.
And a fluid bleed.
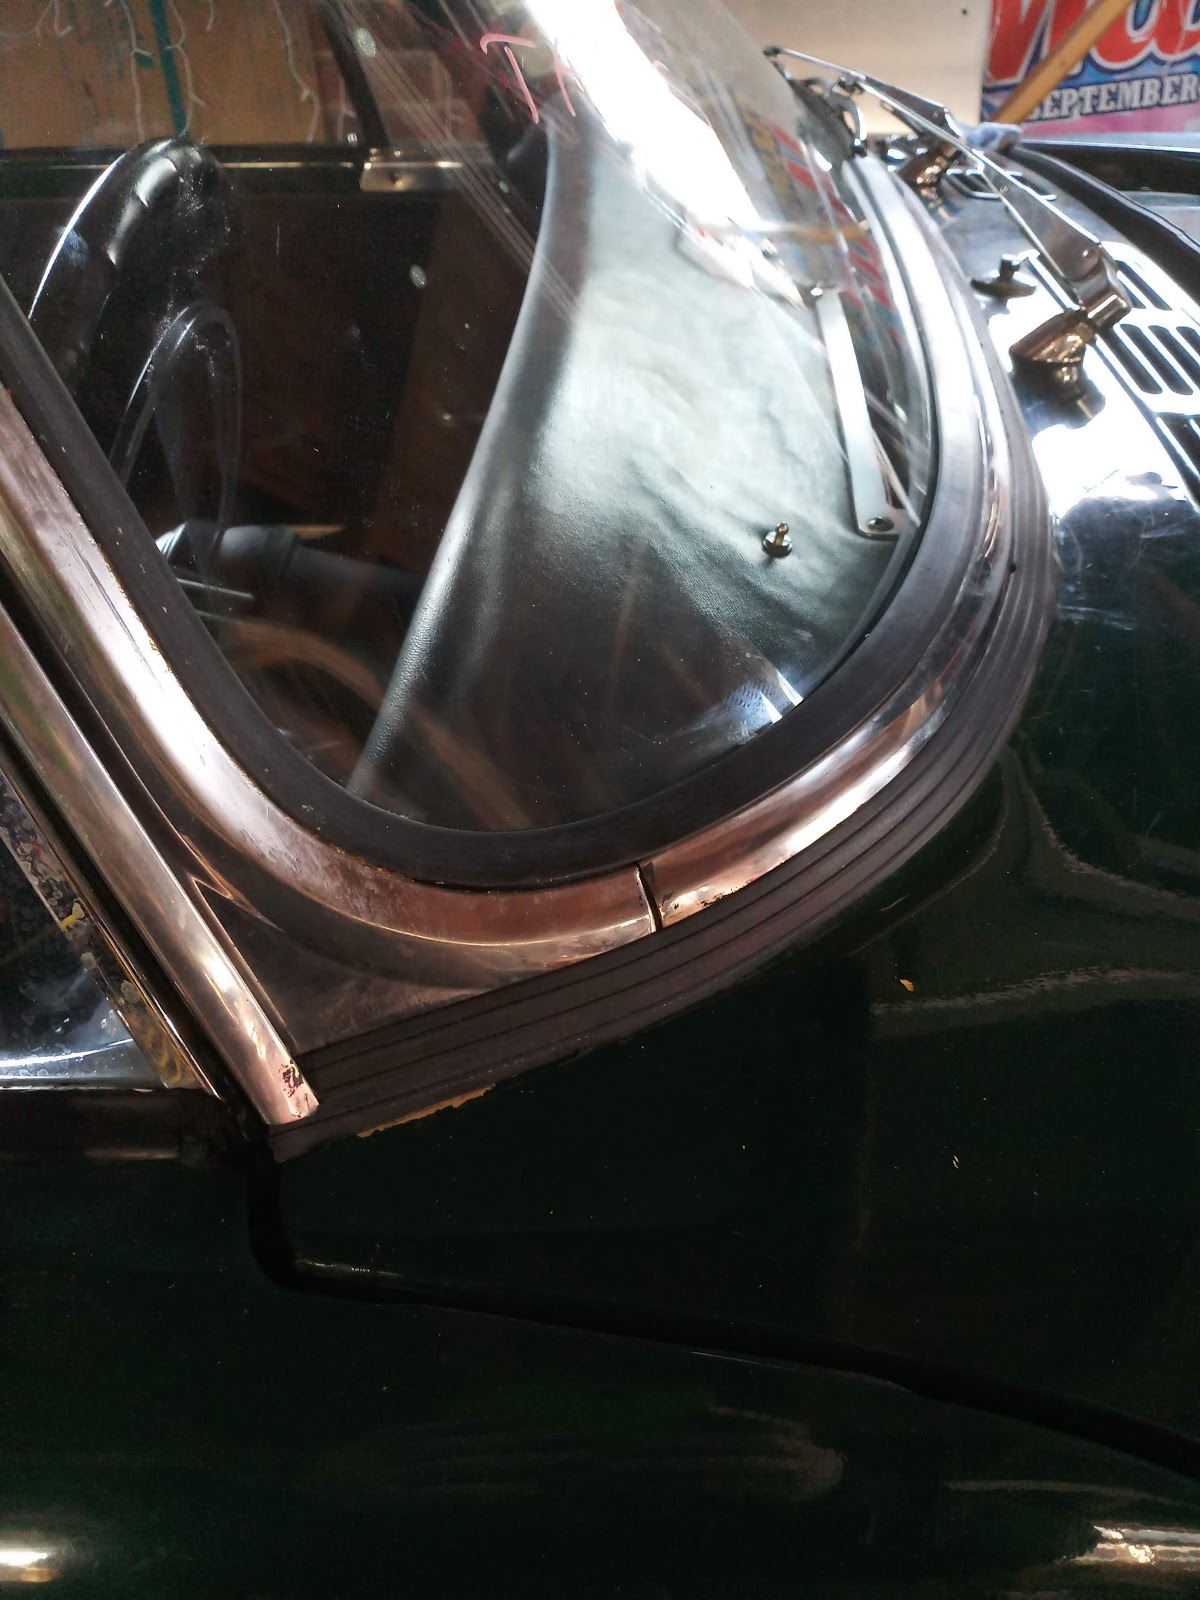
.JPG)
I've looked under the air valve and the air valve piston seal is well worn.
So for now I've ordered enough to service what can be accessed easily from northwestclassic.
The proper full service/seal change will be done in the winter.
my servo part number is 4257-729, apparently superseded by 4257-792.
So for now I've ordered enough to service what can be accessed easily from northwestclassic.
The proper full service/seal change will be done in the winter.
my servo part number is 4257-729, apparently superseded by 4257-792.
see here for servo operation http://www.mgb-stuff.org.uk/servo.htm
see here for servo rebuild https://landcrabforum.co.uk/thread/393/lockheed-servo-rebuild
on the last run the brakes stuck on again, so I missed a day trip to the National.
Weather is a bit so pulled it all apart.
Weather is a bit
so pulled it all apart.

The brakes release when the engine is stopped but I'm changing all the seals in both master and servo.
The servo seals looked OK but the master cylinder seals looked life expired.
Also, despite recent bleeding of a pint of fluid, the fluid in the master still looked contaminated.
Will see soon enough. (I had some yellow that needs using up. No-one will notice)
The servo seals looked OK but the master cylinder seals looked life expired.
Also, despite recent bleeding of a pint of fluid, the fluid in the master still looked contaminated.
Will see soon enough. (I had some yellow that needs using up. No-one will notice)

Got it all together after the master cylinder and servo rebuild -a while ago.
Drove out of the garage and the symptoms were the same. - Brakes stayed on and would release with engine off or very low idle.
After some more looking at the drawings and how it works - In desperation (the only thing still- old) rotated the rubber hose that joins the front portion to the airvalve. It then seemed to work well enough to go to Capel car show.
I replaced the rubber hose with new and now it is working as expected - for two good runs at least.
maybe that was it.
My current theory on the hose is that it had hardened to the profile of the air valve and pipe.
So wasn't blocked but leaking. So not enough power to push the air valve back down. (Could be wrong theory)
Rotating it assisted the seal.
The pipe was easy to remove. The new one was a bit of a struggle to fit. So is well and trult sealed.
It's still OK.
But I realise now the brake effectiveness is a bit sh t. Even with the servo.
Looking at EBC front and rear next. or Princess 4 pots.