

Christmas present to Sunbeam was a Tonneau from Don Hoods.
Winter probably isn't the best time to try to fit the tonneau as it wasn't easy to stretch so it was warmed up in the house every so often.
 |
| Nutserts |
I used captive nuts (nutserts) and lift the dot fittings with M5 threads.
 |
| Tenax fasteners |
For the front, once the screen was removed, I added Tenax fasteners to somewhere near the factory location.
This is instead of the air vent screws as is popular when the screen is still in place.
Some original paint exposed for view

The rubbers were showing all of the 55 years. Despite having been resprayed with screen removed the rubbers were still original.
Cutting the rubber made glass removal easy. but the stainless trim wasn't so easy to remove as it was attached with a strong sealant.

Once the screen was removed the expected rust wasn't as bad as it could have been.

Not the prettiest of repairs but the stainless covers will hide it all.

I don't have the matching paint (Dupli-Color 629686 AC 7-0680)
and she won't stay Racing Green forever so the bits that are seen will be satin black for now.I've also left the top-rail front the original light green metallic for future reference.

Fitting the screen wasn't so bad
and the top and side trims were easy. The lower trim was fitted after the frame to body seal had been glued down.
The frame to body rubber trim wasn't so easy.
The rubber trim came with advise to glue the trim to the frame at the back where the cylindrical section is. This worked well.
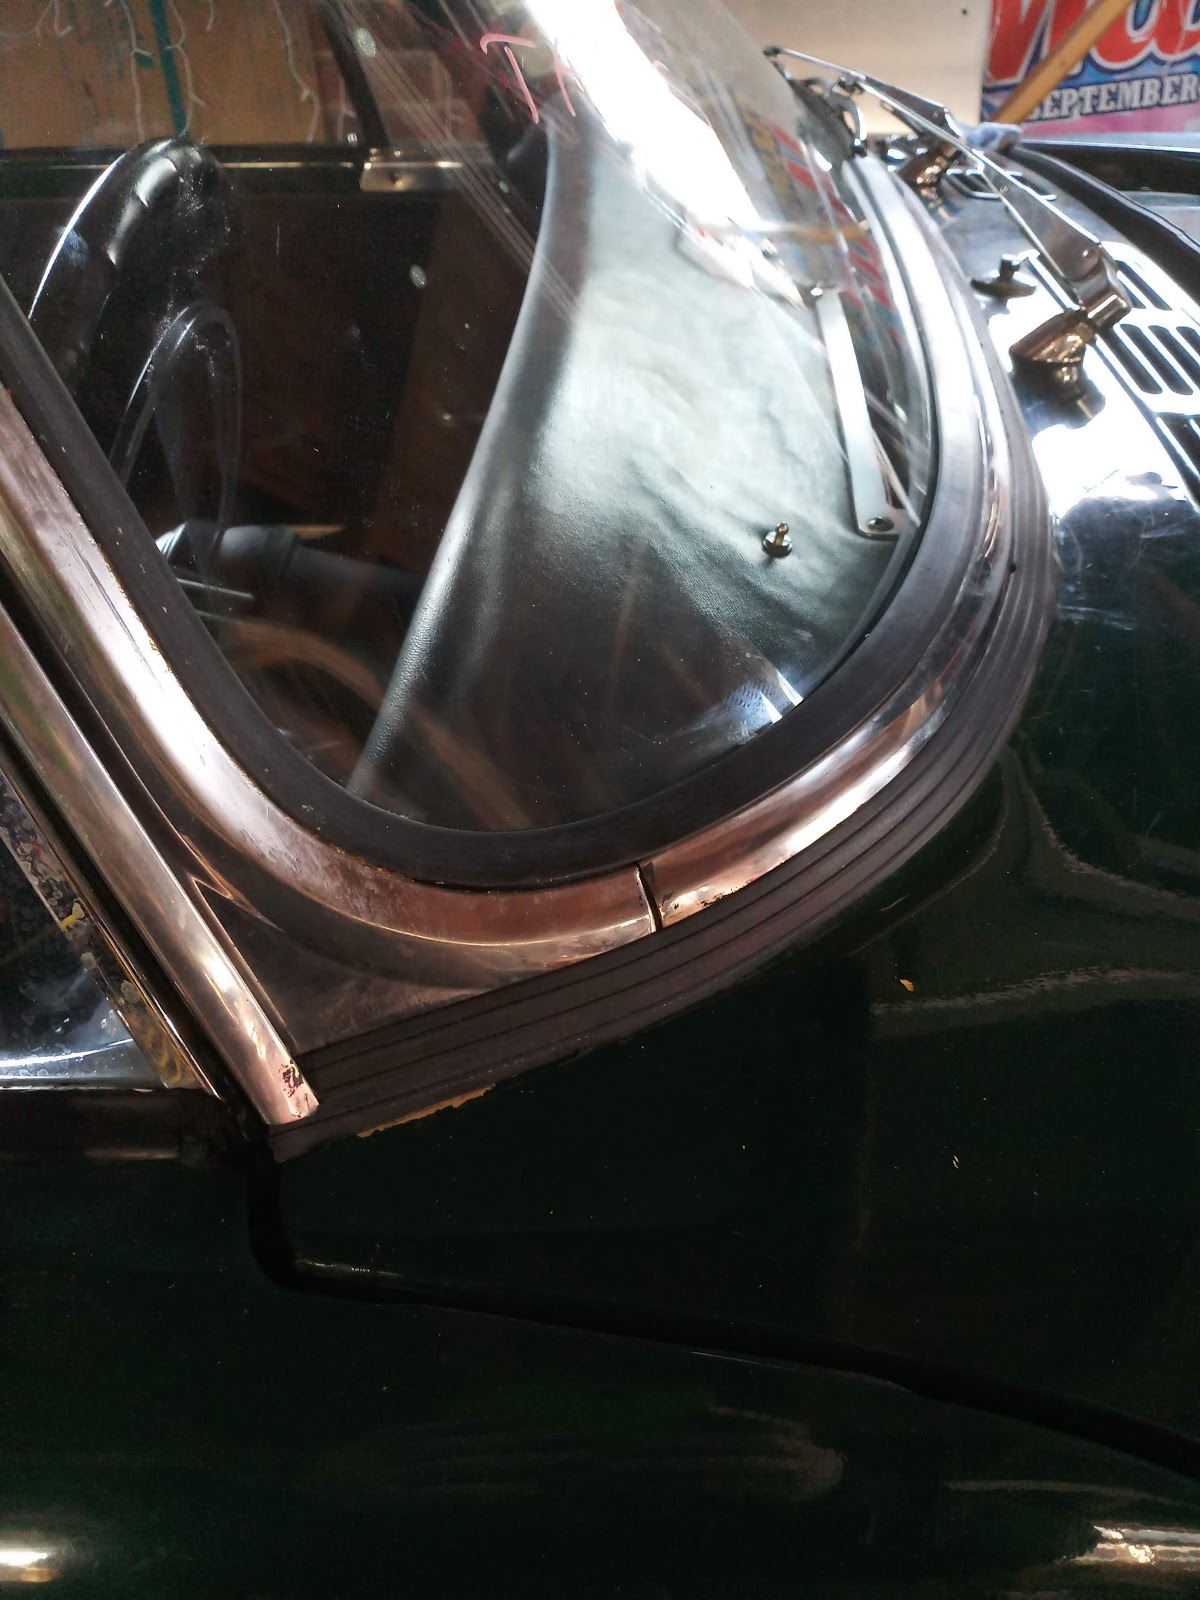
The original seal had been attached by a sealant filling the entire channel section.Which I also tried to do but the sealant I used wasn't very sticky to rubber.
I followed it up with "serious glue" which did the trick and helped when fitting the frame to body.
Adjustment of the angle wasn't easy and needed some packing on one side.


