Lovely sunbeam

Lovely sunbeam
Lovely Sunbeam (and Annierose) 88-99-PF
Showing posts with label sunbeam Alpine. Show all posts

Tuesday, 14 October 2025

MGF seat conversion and seat heaters

 I found some nice looking leather seats from an MGF.   The green looked like it would suit the Alpine.


I would then follow the process documented in this "seat convertion video" by Oily Puddles on the Sunbeam Alpine YouTube channel


In the meantime I thought it might be good to add seat heaters - just in case.


To dismantle the seats I followed this seat refurb YouTube video.

I had some issues mainly with the front plastic clip (as warned
in the video) in fact I managed to crack it quite badly.


The lip appears to just push over the edge of the seat base but there are several barbs punched out of the steel edge to stop the cover clip from coming away.


Seat back


Seat Base


The orange tool is showing the offending tags in the frame lip

Peel back the sides
The lower cover still had the hog rings

Pull the tie wraps down

cut a hole for the thermostat
And glue the heater to the base


Also fitted the B&G seat lowering kit
.
The seat frame is placed onto the foam base.
The cover is easily refitted.

The front clip had broken all the way along so I will need 
to secure the front with some screws or similar.


Sunday, 18 June 2023

Servo failure

 It seems my servo is holding on the brakes.

Overheating so much I rolled into park foche Laon with only a hand brake.
After a bit of cooling it was fine for the rest of the day.
Sticking on again at the farmhouse and unlocked when I turned off the engine.
I removed the vacuum hose and blocked it with a tyre valve.

Similar to previous post.. do I need a servo.
Well, with current braking power, yes I do. Quite a struggle to stop.
I have a girling 7/8" master cylinder. Do the none servo cars use a bigger bore?

I'll try the air valve fix first from the archive.
But also, is there a repair kit for the lockheed type 6, 4257 729 29?

Considering I always thought the brakes were a bit hard - so assumed the servo was dud anyway - now it is dud a proper emergency stop would probably break the seats by pushing so hard. So - in my case -  need to fix it.
Of course there may be more wrong than just the servo.

My master cylinder is 7/8" - series I & II had 11/16". So I think to run without servo one ought to use a different master.

This weekend I'll clean and polish the air valve and give it a test run vacuum on.
And a fluid bleed.


I've looked under the air valve and the air valve piston seal is well worn.
So for now I've ordered enough to service what can be accessed easily from northwestclassic.

The proper full service/seal change will be done in the winter.

my servo part number is 4257-729, apparently superseded by 4257-792.

see here for servo operation http://www.mgb-stuff.org.uk/servo.htm


on the last run the brakes stuck on again, so I missed a day trip to the National.
Weather is a bit  :(  so pulled it all apart.


The brakes release when the engine is stopped but I'm changing all the seals in both master and servo.
The servo seals looked OK but the master cylinder seals looked life expired.
Also, despite recent bleeding of a pint of fluid, the fluid in the master still looked contaminated.

Will see soon enough. (I had some yellow that needs using up. No-one will notice)


Got it all together after the master cylinder and servo rebuild -a while ago.
Drove out of the garage and the symptoms were the same. - Brakes stayed on and would release with engine off or very low idle.

After some more looking at the drawings and how it works - In desperation (the only thing still- old) rotated the rubber hose that joins the front portion to the airvalve. It then seemed to work well enough to go to Capel car show.

I replaced the rubber hose with new and now it is working as expected - for two good runs at least.

maybe that was it.

My current theory on the hose is that it had hardened to the profile of the air valve and pipe.
So wasn't blocked but leaking. So not enough power to push the air valve back down. (Could be wrong theory)
Rotating it assisted the seal.
The pipe was easy to remove. The new one was a bit of a struggle to fit. So is well and trult sealed.

It's still OK.  :P
But I realise now the brake effectiveness is a bit sh t. Even with the servo.

Looking at EBC front and rear next. or Princess 4 pots.


Sunday, 15 August 2021

Type 9 Gearbox repair and Long first upgrade. SAOC National 2021


At the end of last year the 5th gear stopped working.
- it was as if in neutral.

Initially it turned out to be a simple fix - a broken circlip.


In trying to stop the gearbox leaking I made a small error as described in the type 9 gearbox manual.
Which meant a few rollers escaped on the layshaft.
Which I didnt notice - so a run around the block was sufficient to hear a new whine and then the need to remove the gearbox again.


The gearbox was despatched to Paul at First Motion  for proper repair.


I also chose to go for a "long first" conversion.


I chose the "longest" first gear option of FM275 which kept the other ratios the same.

Once on the road the first gear useage is perfect.
Before - it felt as though as soon as the car was moving it was time to choose second.

Maybe I dont need the Scimitar axle now.

A long run to the SAOC National at Thruxton proved it was better than before. Even fifth was easy to select now 😍


Sunday, 29 December 2019

Spa Classic 2019 and lost wheel


A trip to Spa classic went well along with a fun track lap session.

We went all the way there and almost got home without a mishap.
but a short way from home I felt a vibration starting so slowed down to investigate.


Slowly exiting the motorway I slightly applied the brake and suddenly the rear wheel flew past me into the bushes. Releasing the brake then allowed the drum to detach as well.

Fortunately all was at very slow speeds.


After investigation it seems this wheel hub had shorter studs than all the others!
Long studs are hard to find. and standard ones are definitely not suitable for alloy wheels.
Picture shows (left to right)
standard, "as-fitted", desired length, ebay sourced long stud.


A hub puller was obtained and as the studs are not able to be replaced without removing the hub.

The hub wasn't coming off easily. but eventually it released.
The new studs all fitted ok.

The other side refuses to come off so will need to be removed with halfshaft and taken to a press.


Sunday, 27 January 2019

Tonneau and windscreen


Christmas present to Sunbeam was a Tonneau from Don Hoods.
Winter probably isn't the best time to try to fit the tonneau as it wasn't easy to stretch so it was warmed up in the house every so often.


Nutserts


I used captive nuts (nutserts) and lift the dot fittings with M5 threads.


Tenax fasteners


For the front, once the screen was removed, I added Tenax fasteners to somewhere near the factory location.
This is instead of the air vent screws as is popular when the screen is still in place.

Some original paint exposed for view


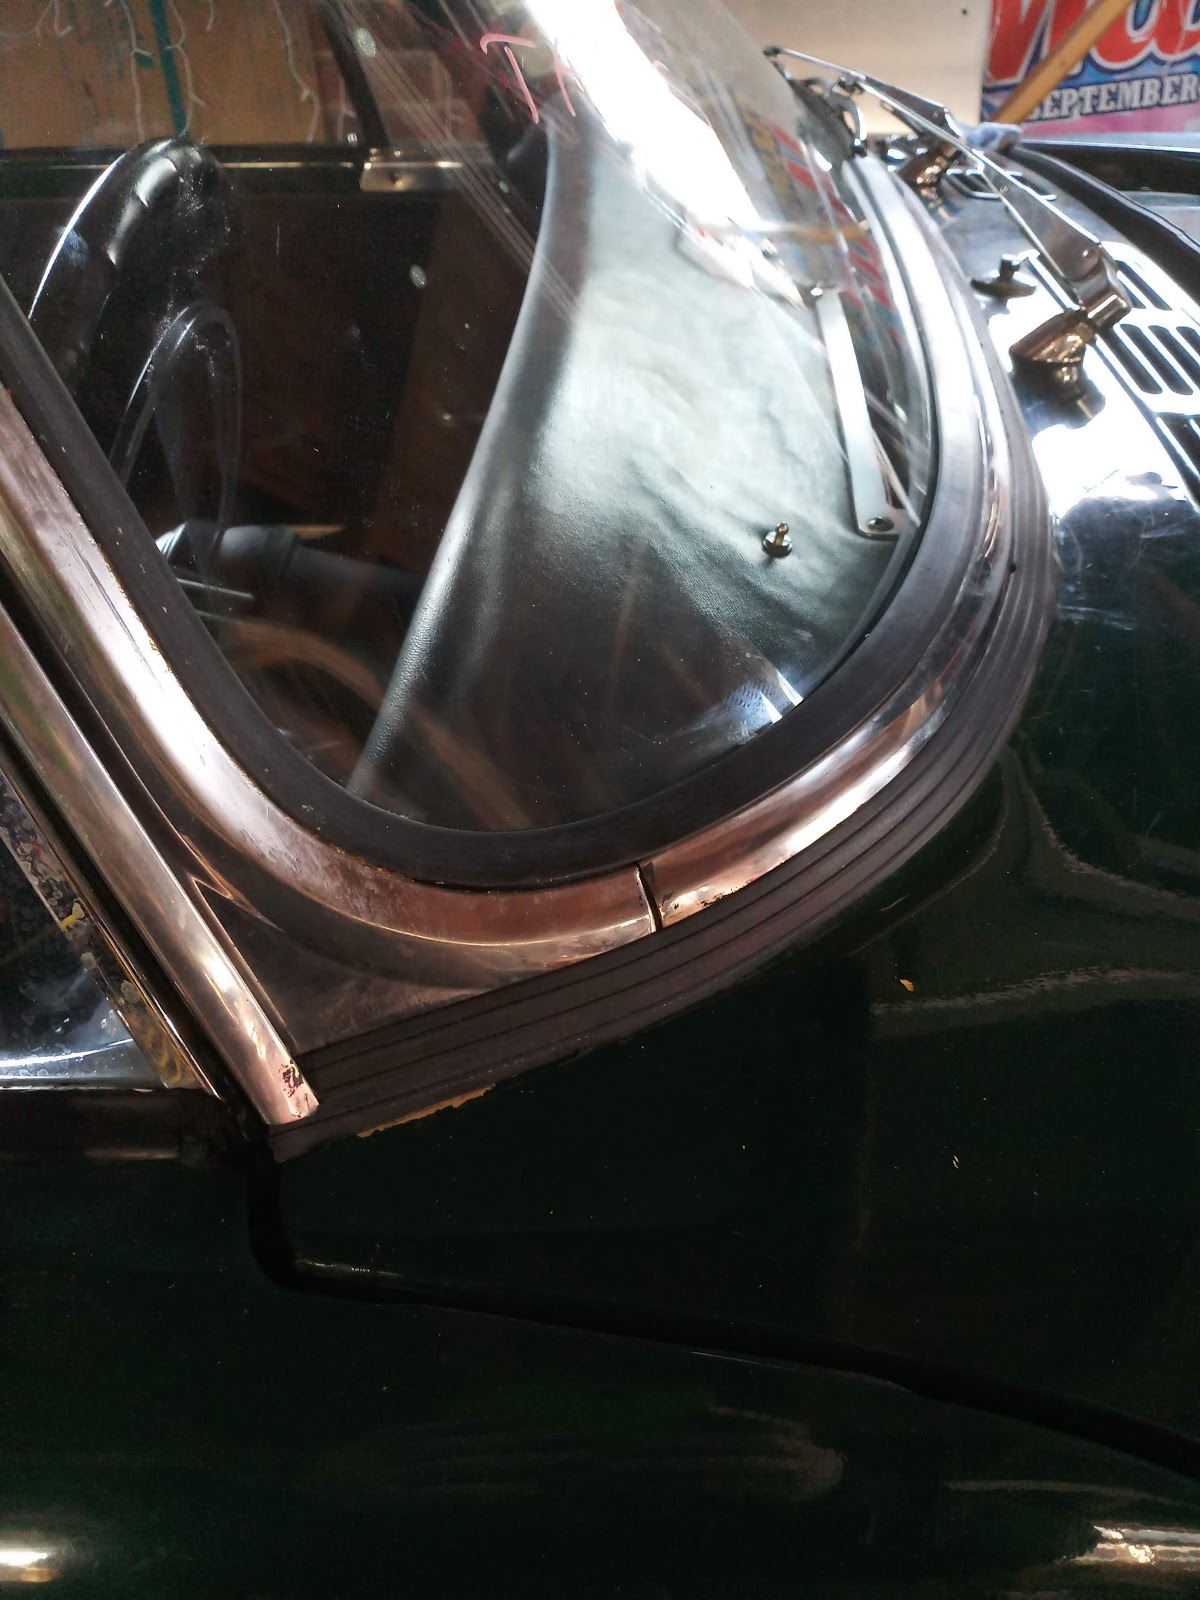
The windscreen is badly scratched and is a nightmare driving at night or into the sun.

The rubbers were showing all of the 55 years.  Despite having been resprayed with screen removed the rubbers were still original.

Cutting the rubber made glass removal easy. but the stainless trim wasn't so easy to remove as it was attached with a strong sealant.


Once the screen was removed the expected rust wasn't as bad as it could have been.


Not the prettiest of repairs but the stainless covers will hide it all.
Any colour so long as it's black...

I don't have the matching paint (Dupli-Color 629686 AC 7-0680) 
and she won't stay Racing Green forever so the bits that are seen will be satin black for now.

I've also left the top-rail front the original light green metallic for future reference.


Fitting the screen wasn't so bad
and the top and side trims were easy. The lower trim was fitted after the frame to body seal had been glued down.

The frame to body rubber trim wasn't so easy.
The rubber trim came with advise to glue the trim to the frame at the back where the cylindrical section is. This worked well.


The original seal had been attached by a sealant filling the entire channel section.Which I also tried to do but the sealant I used wasn't very sticky to rubber.
I followed it up with "serious glue" which did the trick and helped when fitting the frame to body.

Adjustment of the angle wasn't easy and needed some packing on one side.